PowerShell Installation (ODS / API v3.3)
Before You Install
This section provides general information you should review before installing the Ed-Fi ODS / API Admin App.
Prerequisites
The following are required to install the Admin App:
- The Admin App provides an interface to administer an Ed-Fi ODS / API. Understandably, you must have an Ed-Fi ODS / API deployed and operational before you can use the Admin App. The ODS / API must be an On-Premises Installation or an Azure Cloud ODS from the Ed-Fi Exchange.
- You must have an Ed-Fi license to use the Admin App. If you have an installation of the ODS / API, you already have a license. The Ed-Fi License is free and available online. If you haven't done so already, visit the Ed-Fi.org licensing section for details and a link to request a license.
- Admin App authentication will work via Single Sign-On using either Active Directory or Active Directory for Azure depending on deployment.
- Download and install the Microsoft IIS URL Rewrite Tool: https://www.iis.net/downloads/microsoft/url-rewrite if it is not already available (this may require computer restart).
Required Information
You will need the following information to complete this installation:
- The location of your Ed-Fi ODS / API.
- Administrator access and credentials for either on-premises or Azure environment with target Ed-Fi ODS / API.
Installation Instructions
This section provides step-by-step instructions for installation. The specific steps are different depending on the deployment model and version of your Ed-Fi ODS / API.
Compatibility & Supported ODS / API Versions
Currently, the ODS / API Admin App can be installed for use with the Ed-Fi ODS / API v3.3. See the Ed-Fi Technology Version Index for more details.
On-Premises Deployment for ODS / API for v3.3
Each step is outlined in detail below.
Step 1. Unzip Admin App Source Files
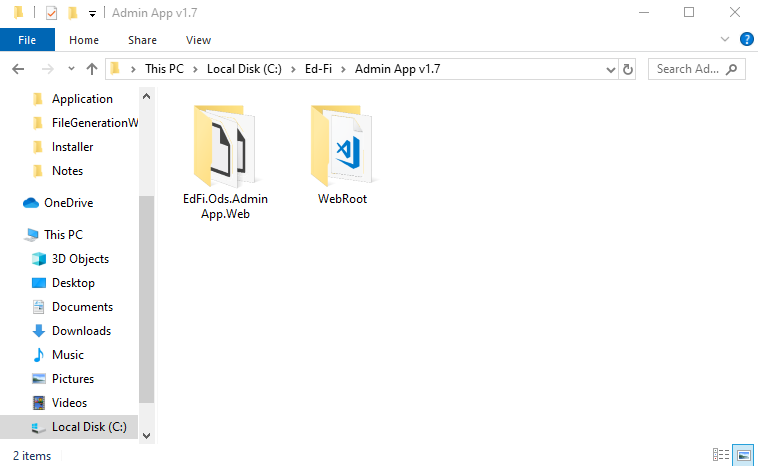
Unzip the contents of the Source ZIP into any folder of your choosing. Our directory is on the following path: "C:\Ed-Fi\Admin App v1.7".

Step 2. Unzip Admin App Installation Files
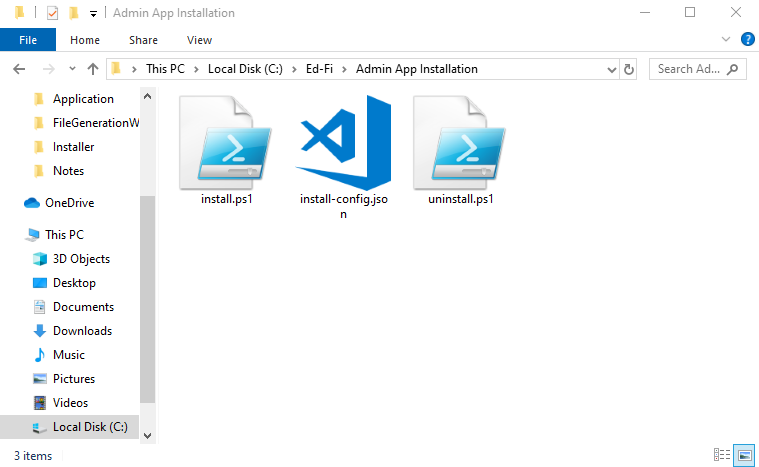
Unzip the contents of the Installation ZIP into any folder of your choosing. Our directory is on the following path: "C:\Ed-Fi\Admin App Installation".

Step 3. Configure Installation
Open the "install-config.json" file. We will need to edit this file with our configuration details.
- Set the "installationDirectory" to the path of the directory with the source files. Be sure to escape any special characters like slashes (For example, a path like "C:\Ed-Fi\Admin App v1.7" should be changed to "C:\\Ed-Fi\\Admin App v1.7").
- Configure values for the ODS / API.
- "apiUrl" is the base URL for the ODS / API.
- "apiMode" is either going to be "Shared Instance" or "Year Specific".
- If "Shared Instance" was chosen, the "schoolYear" can be left blank.
- If "Year Specific" was chosen, you must provide the "schoolYear".
- Configure values for each database. These are used to construct the
connection strings.
- "sqlServer" is the name of the database server. For a local server, we can use "(local)".
- "name" is simply the name of the database being referenced. For example, when configuring for the "ods" database, the value here will be the name of the ODS, whereas the "admin" and "security" database names will probably be "EdFi_Admin" and "EdFi_Security", respectively.
- "trustedConnection" will either be "true" or "false".
- If you plan to use Windows authentication, this value will be "true" and "username" and "password" can be left blank.
- If you plan to use SQL Server authentication, this value will be "false" and the "username" and "password" must be provided.
This is an example of what a complete "install-config.json" file could look like:
install-config.json
{
    "installationDirectory": "C:\\Ed-Fi\\Admin App v1.7",
    "odsApi": {
        "apiUrl": "http://localhost:54746",
        "apiMode": "SharedInstance",
        "schoolYear": ""
    },
    "database": {
        "ods": {
            "sqlServer": "(local)",
            "name": "EdFi_Ods",
            "trustedConnection": "true",
            "username": "",
            "password": ""
        },
        "admin": {
            "sqlServer": "(local)",
            "name": "EdFi_Admin",
            "trustedConnection": "true",
            "username": "",
            "password": ""
        },
        "security": {
            "sqlServer": "(local)",
            "name": "EdFi_Security",
            "trustedConnection": "true",
            "username": "",
            "password": ""
        }
    }
}
Step 4. Run the Installation via PowerShell
Ensure that you have permission to execute PowerShell scripts. For more information, see about_Execution_Policies.
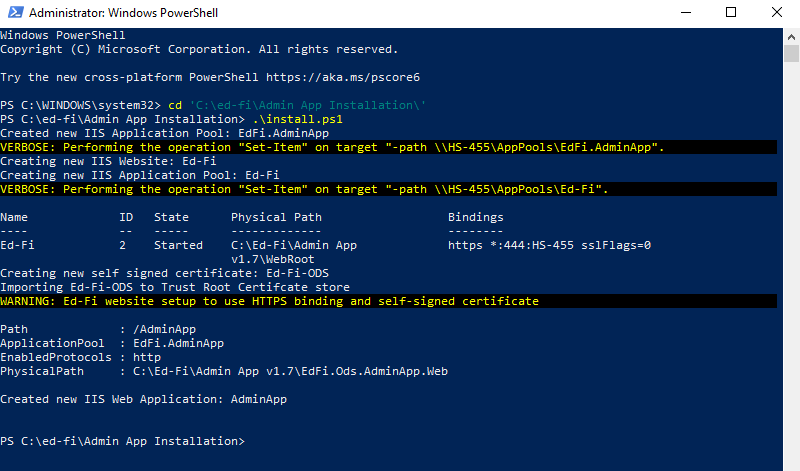
Launch PowerShell as an administrator, cd to the directory containing the installation files, and run the "install.ps1" script.
The PowerShell output should look like the following:

Next Steps. Continue at Step 5 in the Admin App Installation (3.x)
Continue Step 5 and beyond in the general Admin App installation instructions: Admin App v1.7 for ODS / API v3.3.
The following are ZIP files needed for the successful on-premises installation of Admin App v1.7 for Ed-Fi ODS / API v3.3 Source ZIP: Ed-Fi_ODS_AdminApp_1.7_3.3.zip Installation ZIP: Ed-Fi_ODS_AdminApp_Installation_1.7_3.3.zip