Quick Start
This section contains a simple walkthrough which can be used to verify installation and perform a simple end-to-end import using an Ed-Fi ODS / API v3.2 and the Grand Bend sample data set.
The high-level steps are:
Step 1. Open Data Import in the Web Browser
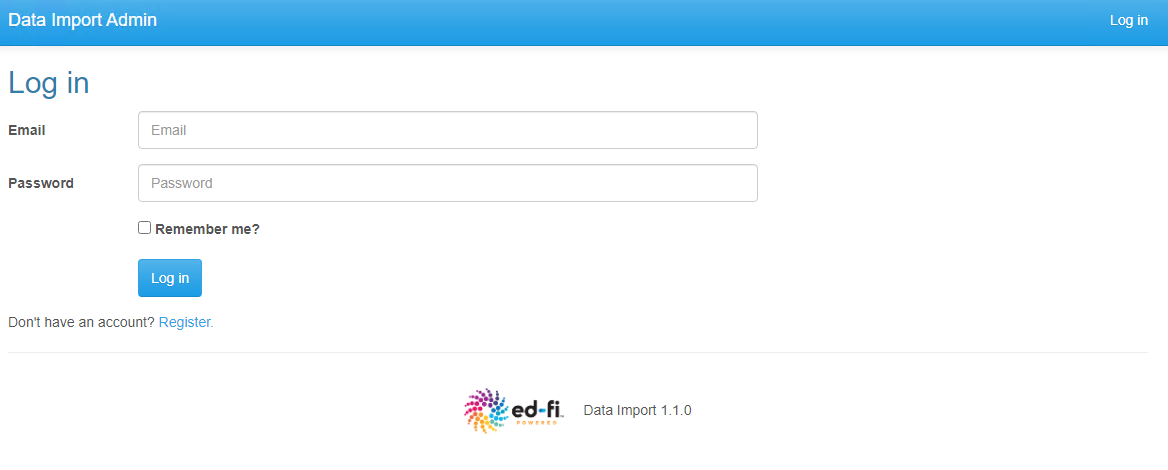
Once installed, launch "Ed-Fi Data Import". If using an EXE installer, the URL
would be: https://<machinename>/DataImport. Internet Information Services
(IIS) Manager could be used to verify the location if not similar to previously
mentioned. As Data Import loads for the first time, click on the "Register" link
to register the first administrative user. If you need more configuration
guidance, please see First-Time
Configuration for explanation on
each step.
Upon successful configuration, the home page should appear as below. Click on Data Browser → Schools to bring up the listing of schools configured.

If everything is configured correct, you should see a Data Browser listing of Schools available.

Step 2. Review Use Case for Importing Sample State Assessments
Download the sample "DI-TEST-2019-GrandBend.csv" on the right of this page. Double click on this file to open and select Notepad when selected.
Observe the CSV file with 10 rows of sample state assessment scores for Grand Bend. View the columns to have an understanding of the data we'll be importing.

Step 3. Obtain Sample from Data Import-Templates Repository
Data Import has the ability to import and export templates (data maps, lookups and bootstraps) and share those templates through Data Import-Templates repository to other Ed-Fi adopters in the community. We'll use this feature to download sample for this lab.
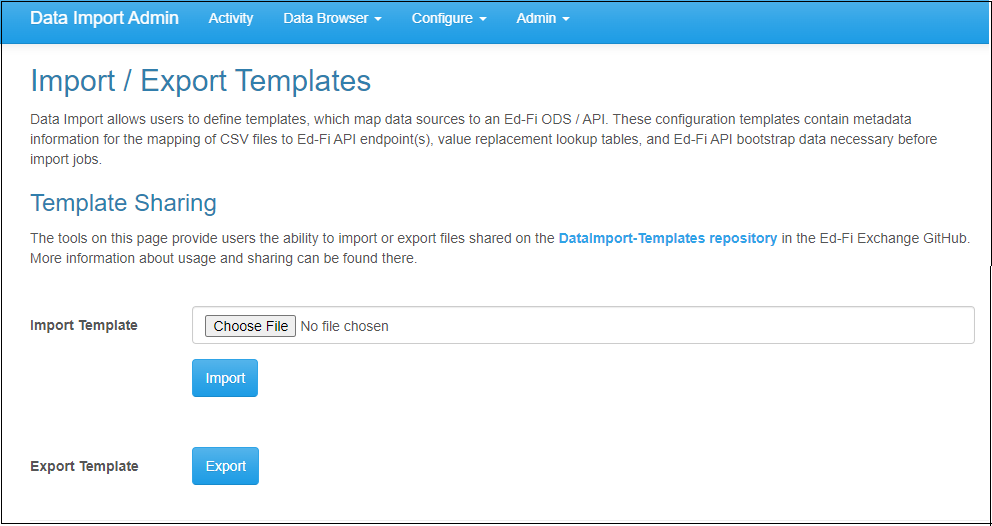
Once cloned or downloaded the templates files, we can import to Data Import using Import/ Export link on Admin tab.
Click on Admin → Import/ Export

This screen allows to choose sample template file and import.
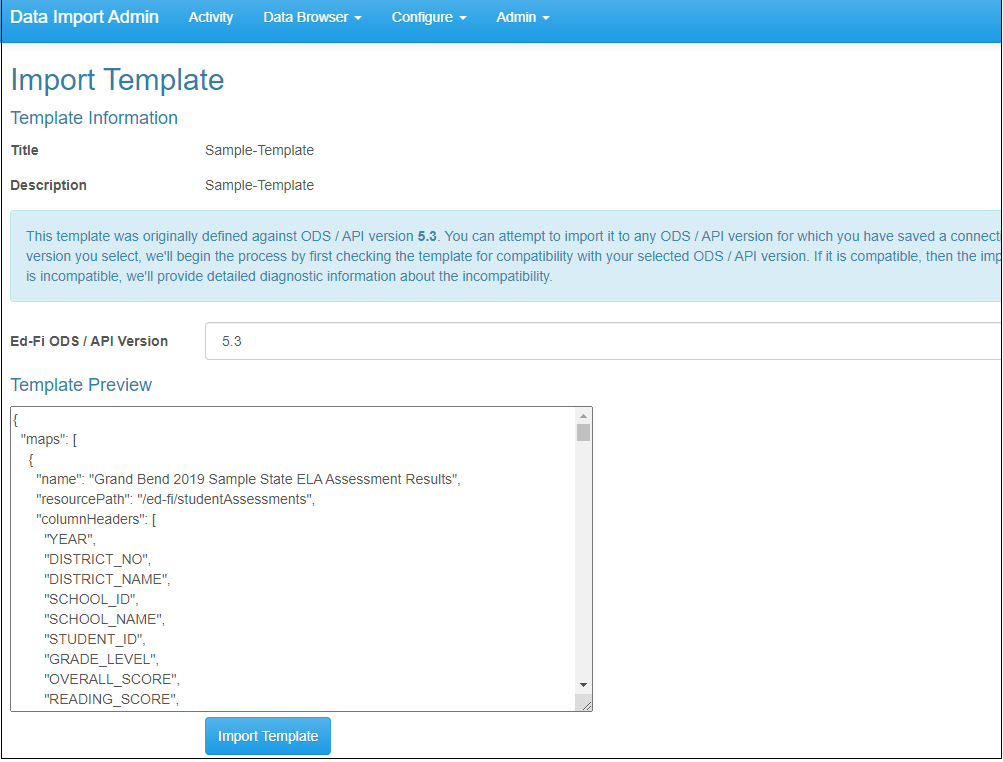
This is a sample template. View the information below. The template preview provides a view of what will be imported. It is important to note, Data Import is intended to share only metadata for import operations and not actual results or other real data.
Step 4. Review Lookups
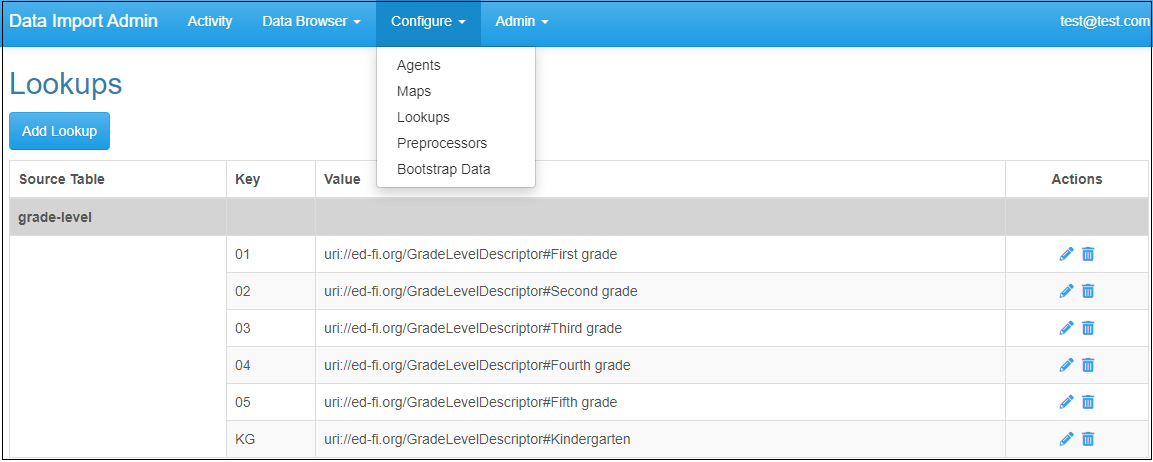
Click on menu option Configure → Lookups. Observe the "grade-level" lookups that have been imported from the template.
Step 5. Review Bootstraps
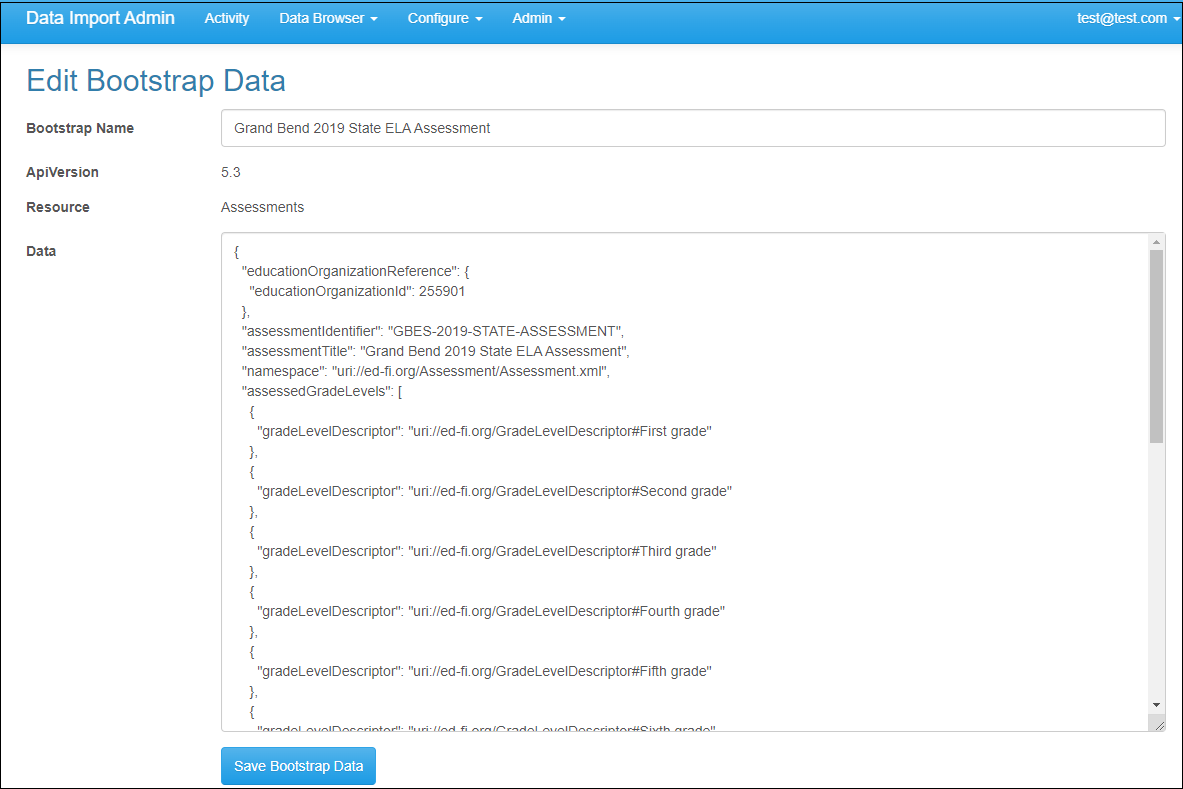
Click on Configure → Bootstrap Data. Observe that four bootstraps have been imported. Click first Bootstrap item's edit icon to view its data.

Review "Grand Bend 2019 State ELA Assessment".
Step 6. Review Data Map
Click on menu option Maps. Review the "Grand Bend 2019 Sample...." that was imported. Click Edit icon to review.

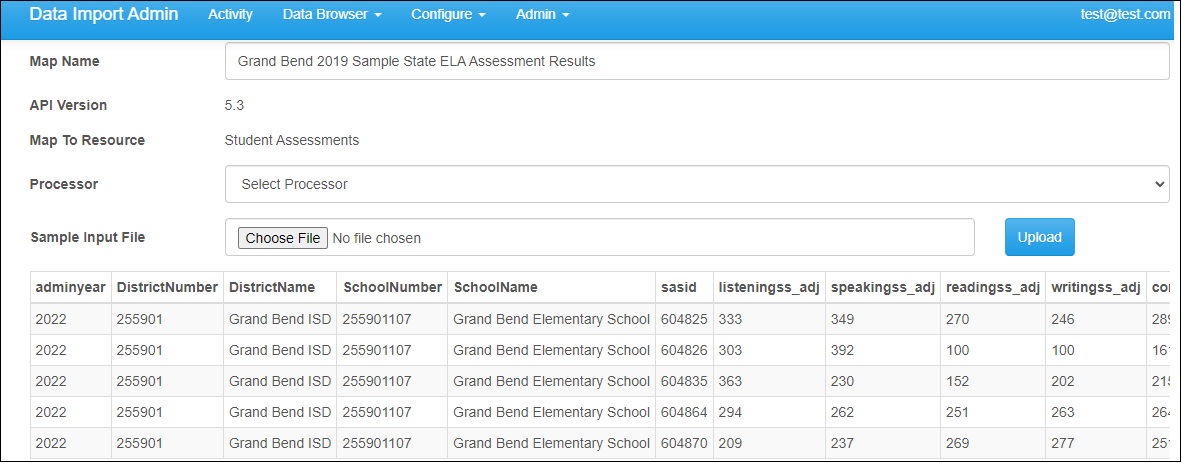
To preview the data source, click "Choose File", the "DI-TEST-2019-GrandBend.csv" from the Desktop, then click Upload.
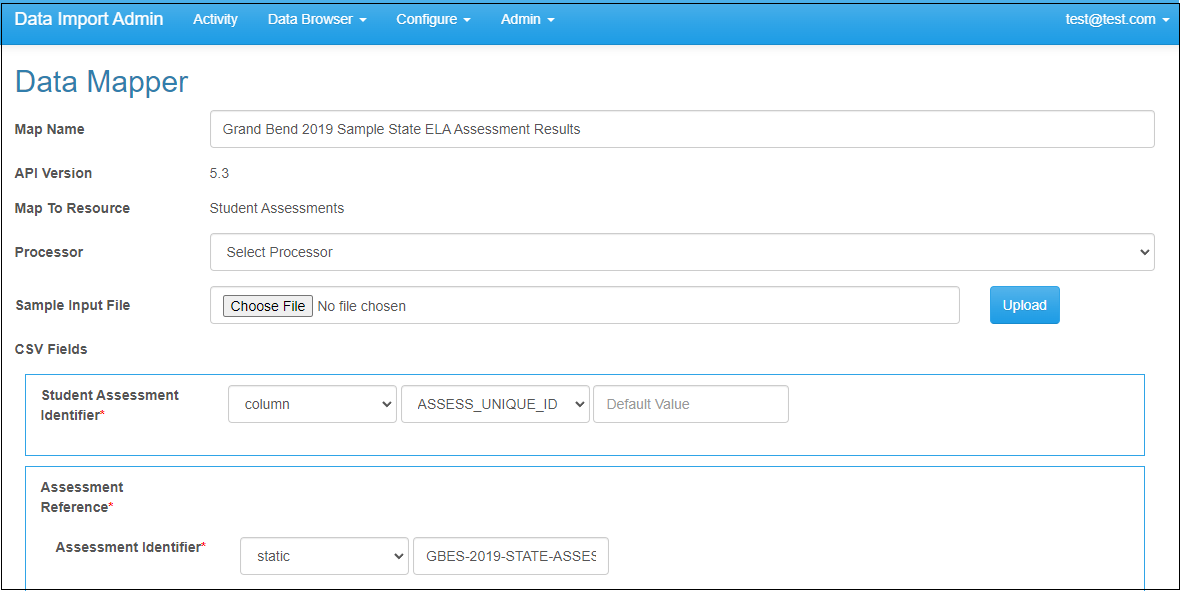
The data preview will appear. Browse and review various aspects of this data map. Notice that it uses column, static and lookups within this map.

Step 7. Add an Agent
Agents associate a file transfer with the maps defined for this file.
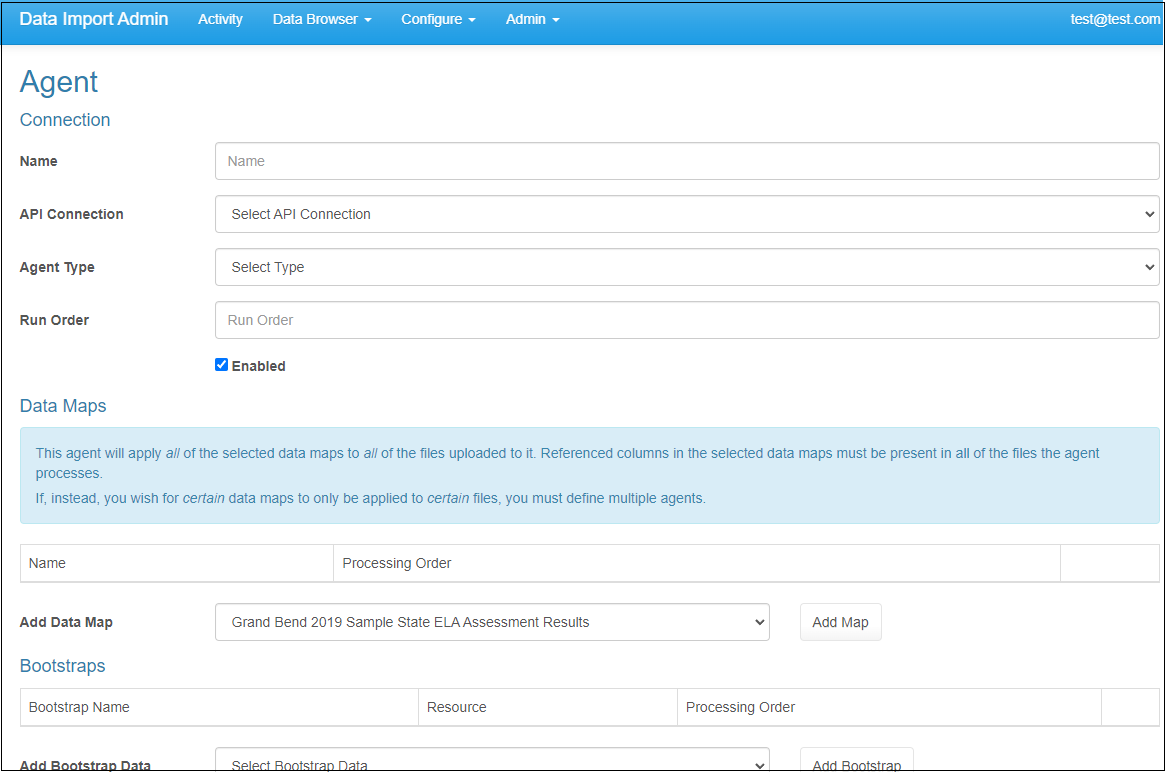
Click Configure → Agents. Click Add Agents.

Enter options as described below. Click Save Agents when done.
Log in using the details below:
| Option | Value |
|---|---|
| Name | Grand Bend 2019 Sample |
| Agent Type | Manual |
| Enabled | CHECK |
| Data Maps | |
| Choose "Grand Bend 2019..." | |
| Click "Add Map" |
Step 8. Upload file to Agent
Once you have created the agent, you must upload the CSV file downloaded earlier ("DI-TEST-2019-GrandBend.csv") because this is a manual agent. On the main Agents page, click the "Upload" icon on the agent you just created. Choose the CSV file and hit upload. Back on the main Agents page, the "Files" column for that agent should now be 1. Now, we are ready to load to the ODS.


Step 9. Run the Agent
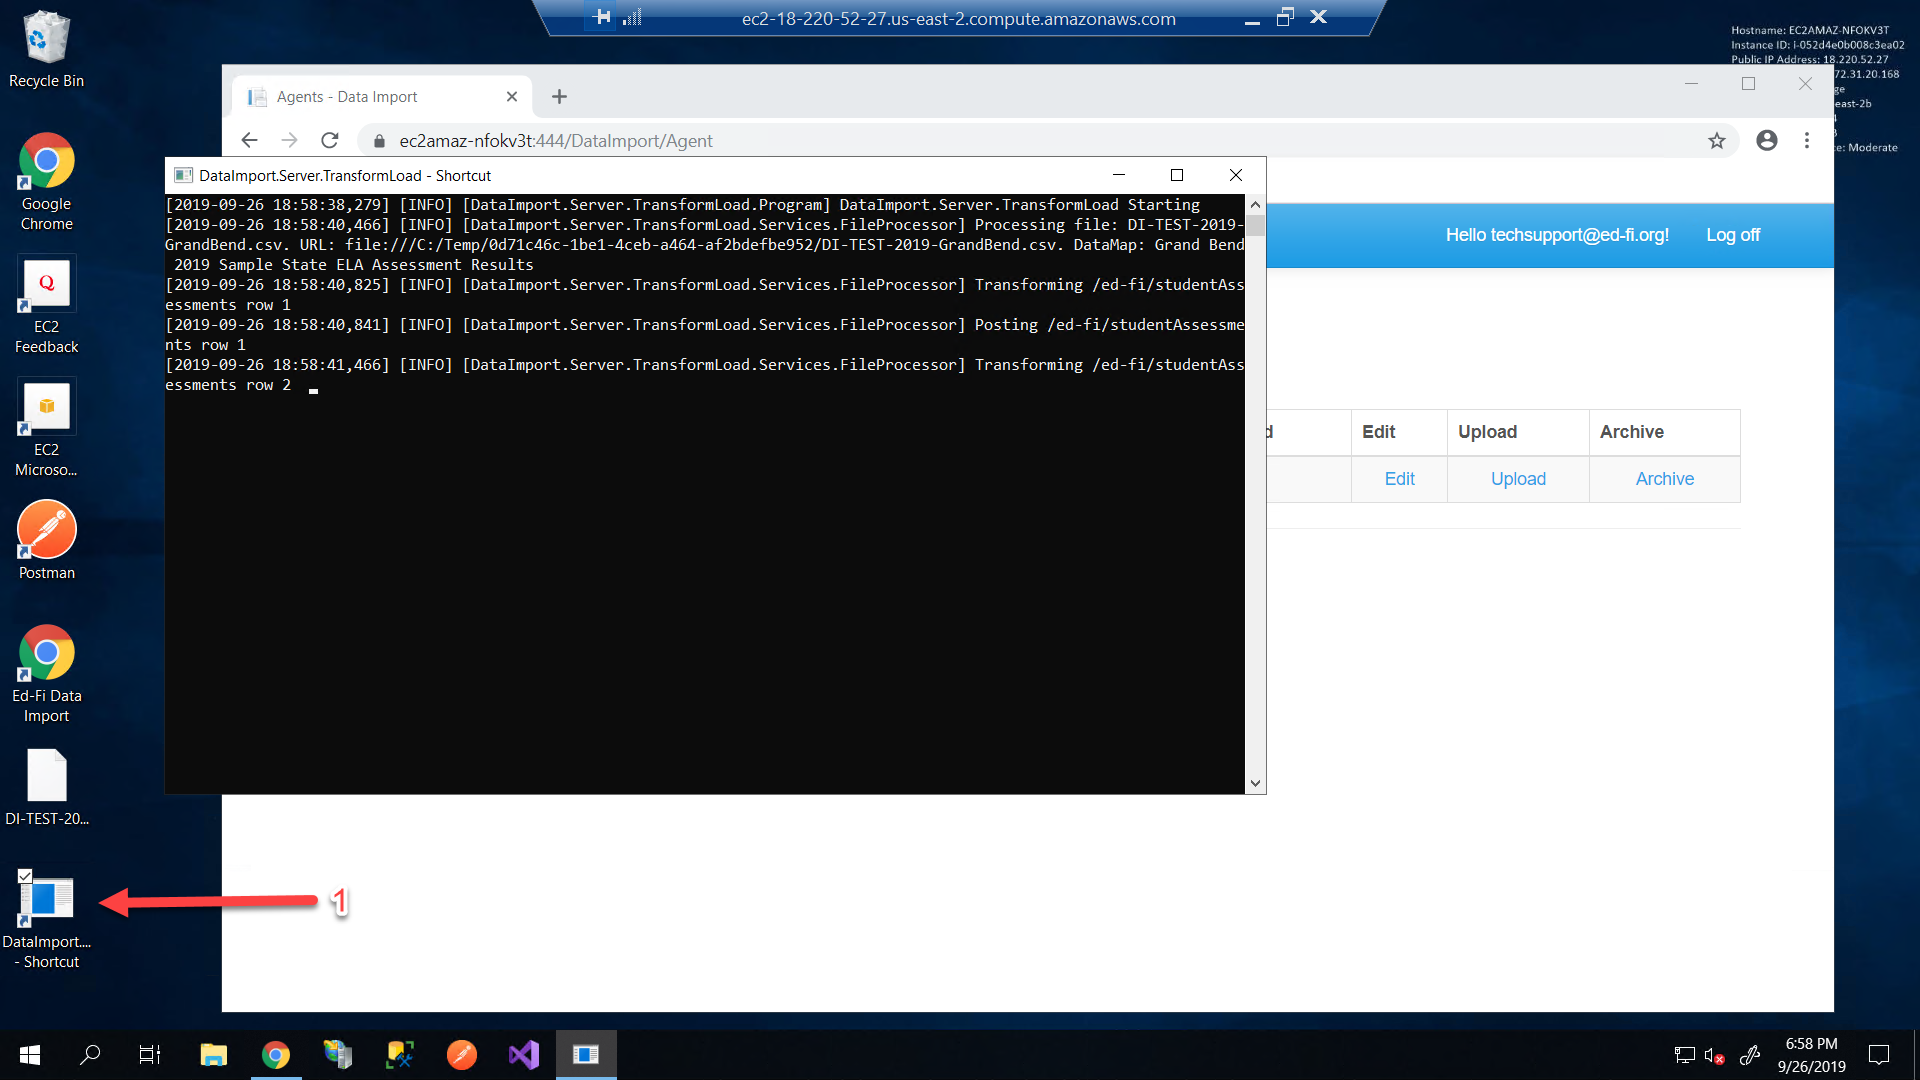
Execute Data Import's Transform Load command line task to import and transform CSV data to the StudentAssessment endpoint. This can be done by executing the DataImport.Server.TransformLoad.exe from the TransformLoad folder.
Step 10. View Logs
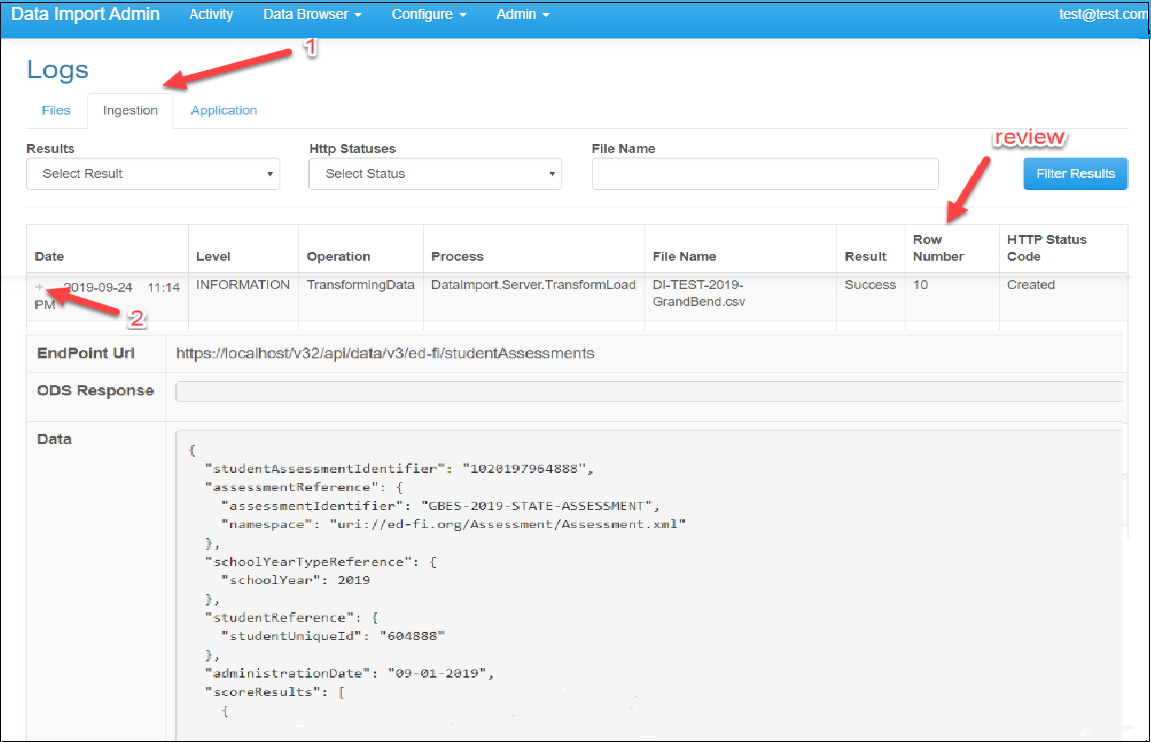
Data Import provides logging facilities for files to process, ingestion log details, and a general application log. Select Configure → Logs to view this section and details about the previous import job.
Review job status.

Click on the Ingestion tab. Review the details below. Click the "+" to open extended information about the API payload for that row.
Support & Reporting Issues
If you need support while using Data Import, you can log an issue in the Ed-Fi Tracker.
The instructions above provide an overview of Data Import's basic features. Additional documentation, including a User Guide, will be added to provide detailed information on each section of Data Import.
Contents
Read more about getting started with the Data Import tool:
Below are two sample data files used in the "Next Steps" referenced in the walkthrough on this page:
- Sample CSV file: DI-TEST-2019-GrandBend.csv
- Sample template file: Grand Bend 2019 Sample ELA Assessment Results (on GitHub)